First 48 Hours After a Food Allergy Diagnosis: What to Do, What to Expect, and How to Take Control
A new food allergy diagnosis can feel like your world has changed overnight. One minute you are trying to process a test result or a frightening reaction, and the next you are expected to understand labels, emergency treatment, school forms, and kitchen safety. If that is where you are right now, pause for a moment. You do not need to solve everything today. You only need to focus on the next 48 hours.
You are also not alone. Food allergy is common, affecting about 6.7% of U.S. adults and 5.3% of children according to CDC NHIS Data Brief No. 545: https://www.cdc.gov/nchs/products/databriefs/db545.htm The good news is that the first two days after diagnosis can give you a strong foundation for safety, confidence, and a more manageable routine.
You’ve Got the Diagnosis: Pause, Breathe, and Focus on the Next 48 Hours
The first step is emotional, not logistical. A diagnosis often brings shock, grief, anger, and fear all at once. That reaction is normal. Many parents and caregivers feel they have to become experts immediately, but the better goal is simpler: make sure everyone is safe, then build from there.
In the first 48 hours, aim to answer a few essential questions. What exactly is the allergen? What is the risk of anaphylaxis? Do you need epinephrine right away? What foods or ingredients should be avoided immediately? Who needs to know today? Once those basics are handled, you can begin creating a plan that fits your home, your child, or your own daily routine.
Step 1: Confirm Exactly What You’re Allergic To
If your diagnosis is based on symptoms, a screening test, or a suspected reaction, the next move is to confirm the culprit as precisely as possible with an allergist or other qualified specialist. This matters because broad, vague avoidance can make life more stressful than necessary, while a precise diagnosis helps you focus on the foods that truly need attention.
The major U.S. allergens, often called the Big 9, are milk, eggs, fish, shellfish, tree nuts, peanuts, wheat, soybeans, and sesame. These account for over 90% of allergic reactions, according to USDA FSIS and FDA guidance: https://www.fsis.usda.gov/food-safety/safe-food-handling-and-preparation/food-safety-basics/food-allergies-big-9 Knowing whether your trigger is one of these or a different ingredient changes how you read labels and how you plan meals.
Which Specialist to See and Which Questions to Ask
In most cases, an allergist is the best specialist to confirm the diagnosis and make a management plan. Bring any reaction details you have, including photos, notes, or emergency room discharge papers. If you are the parent of a child, bring a list of every food, symptom, and timing detail you can remember.
Useful questions to ask in the first visit include: What do you think the allergen is? Do I need to avoid only one ingredient or all related foods? How likely is anaphylaxis? Should I carry one or two epinephrine auto-injectors? Do I need repeat testing, a skin prick test, a blood test, or an oral food challenge later? What symptoms mean I should use epinephrine immediately? What should I do after using it?
Understanding Testing: Skin Prick, Blood Tests, and Oral Food Challenges
Testing is helpful, but it is not always the full answer by itself. Skin prick tests and blood tests can help identify sensitization, but they do not always confirm how severe a reaction will be or whether a food truly causes symptoms in real life. That is why allergists sometimes recommend an oral food challenge under medical supervision when the diagnosis is unclear.
Try to avoid self-diagnosing a long list of extra foods out of fear. A short, accurate allergy list is easier to manage than a guessed one. If your doctor thinks additional testing is needed, ask for a timeline and the safest next step so you can plan the next few weeks with less uncertainty.
Step 2: Get Your Emergency Plan in Place Right Away
If there is any chance of a severe reaction, emergency planning should begin immediately. The NIAID Expert Panel Guidelines state that intramuscular epinephrine in the mid-anterolateral thigh is the first-line treatment for food-induced anaphylaxis, and delay or failure to use it is linked to worse outcomes: https://pmc.ncbi.nlm.nih.gov/articles/PMC4241964/ This is one of the most important facts to absorb in the first 48 hours.
The same guidelines note that between 10% and 20% of people treated with epinephrine for anaphylaxis need more than one dose, often when symptoms persist or return within 5 to 15 minutes. That is why many clinicians recommend having a second auto-injector available. It is also why your emergency plan should include what to do if symptoms improve, then come back.
How to Use and Carry an Epinephrine Auto-Injector
If you have been prescribed an epinephrine auto-injector, learn how to use it the same day you receive it. Read the instructions, watch the training video if available, and practice with a trainer device if your pharmacy provides one. Keep it with you, not buried in a bag, drawer, or car glove compartment.
A simple rule helps: if you think a reaction is becoming serious, use epinephrine sooner rather than later. Symptoms such as trouble breathing, throat tightness, widespread hives, repeated vomiting, swelling, dizziness, or a sudden drop in energy after exposure should be treated as urgent. If symptoms worsen or return after epinephrine, emergency help is needed right away.
One note worth knowing: some recent guidance from ACAAI suggests that after using epinephrine, calling 911 may not always be required if symptoms resolve quickly, a second dose is available, and another person is present to help, but you should call if symptoms worsen or return: https://acaai.org/resource/if-i-use-epinephrine-for-an-allergic-reaction-do-i-have-to-call-911/ Ask your allergist how this applies to your specific situation, because recommendations may vary by age, severity, and medical history.
Step 3: Buy the First Essentials You Actually Need
You do not need to overhaul your entire home in one day. Focus on the essentials that reduce risk and make daily life simpler. The first items are usually a prescribed epinephrine auto-injector, a medical ID, and a few kitchen basics that help you avoid cross-contact.
Medical ID can be a smart early purchase, especially for children, teens, and anyone with a history of severe reactions. An observational pediatric ED study found that many children assessed as having an allergy wore a medical ID bracelet, but the information was sometimes incorrect, which is a reminder to keep it updated. A bracelet or necklace is not a replacement for medical care, but it can help communicate vital information quickly if you cannot speak for yourself: https://www.ncbi.nlm.nih.gov/books/NBK274151/bin/apph-et6.pdf
For the kitchen, start with simple tools that reduce shared surfaces: separate sponges or cloths, clean cutting boards, dedicated utensils if needed, and clearly labeled storage containers. If you live with others who eat your allergen, it may also help to create one shelf or bin for safe foods so there is less accidental mixing.
Setting Up a Safer Kitchen and Preventing Cross-Contact at Home
Cross-contact happens when an allergen unintentionally transfers from one food or surface to another. FARE notes that even tiny amounts can trigger severe reactions, and common sources include shared utensils, cutting boards, steam or splatter, fridge leaks, deep fryers or shared oil, and poorly cleaned surfaces or hands: https://www.foodallergy.org/resources/avoiding-cross-contact
In the first 48 hours, aim for practical prevention, not perfection. Wash hands before handling safe foods. Clean counters carefully. Avoid shared butter, jam, or condiment jars. Do not use the same toaster or frying oil unless your allergist says it is safe for your specific allergy situation. If a household member is still eating the allergen, keep it away from your safest prep area.
If you want a faster way to check packaged foods while you are still learning labels, a tool like Bokha: Food Allergy Scanner App can help you scan barcodes and identify allergens quickly. It is available on iOS and Android and can be useful when you are trying to build a safe grocery list without spending hours in the aisle: https://findthe.app/bokha
Step 4: Learn to Read Labels Without Panic
Label reading is intimidating at first, but it becomes much easier once you know what to scan for. Start by looking for your allergen in the ingredient list, then check the bolded allergen statement if one is present. Also watch for advisory phrases such as “may contain” or “made on shared equipment,” which may matter depending on your risk level and your allergist’s guidance.
The first few shopping trips may feel slow. That is normal. Your goal is not to become a perfect label-reader overnight, but to build a repeatable habit: read every label, every time, because recipes and manufacturing processes can change. If you are unsure about a product, put it back and choose a simpler food with fewer ingredients.
When in doubt, keep your first grocery cart boring. Plain rice, plain pasta if safe for you, simple proteins, fresh fruit, vegetables, and clearly labeled staples usually make the first week easier. Fewer ingredients often means fewer surprises.
Step 5: Build 3 to 5 Safe Meals You Can Trust
One of the most calming things you can do in the first two days is create a tiny menu of safe meals you already know how to make. Think of this as your emergency food routine. You are not building a forever meal plan yet. You are building a short list that reduces stress this week.
Choose 3 to 5 meals that are simple, repeatable, and made from ingredients you have already verified. For example, a safe breakfast, a safe lunch, and a safe dinner can carry you through the learning curve. If you are managing a child’s diagnosis, keep the meals familiar and low drama. The fewer variables, the better.
This is also the moment to think about snacks. Safe snacks can be a lifesaver when you are hungry, overwhelmed, or running late. Packaged items may be convenient, but even simple homemade options can be a relief while you are still building confidence with labels and cross-contact prevention.
Start a Reaction Log to Track Symptoms, Foods, and Questions
A reaction log does not need to be elaborate. A notebook or notes app is enough. Write down what was eaten, the time, symptoms, how quickly they started, what treatment was used, and how the person responded. Include anything unusual, such as exercise, illness, stress, or a new medication, because those factors can sometimes affect reactions.
A log is useful for spotting patterns and giving your allergist better information. It can also help you separate confirmed reactions from fears or near misses. In the first 48 hours, you are not trying to diagnose everything on your own. You are creating a clear record that supports good medical advice later.
What to Tell Family, Friends, School, or Childcare in the First Two Days
You do not need a perfect script, but you do need a clear message. Tell the people who help feed or supervise you or your child what the allergen is, what symptoms to watch for, where the epinephrine is kept, and what to do in an emergency. If a child is involved, school or childcare staff should know that the diagnosis is real, current, and potentially serious.
Keep the message simple. Avoid long explanations that bury the main point. A useful approach is: this food is not safe, these are the symptoms that matter, this is where the medication is, and this is what to do first. Written instructions can help, especially when emotions are high and details are easy to forget.
If you have extended family or close friends who cook for you, ask them to pause on shared meals until they have read the basics. A short temporary boundary is much easier than cleaning up after a preventable exposure.
Handling the Fear, Anxiety, and Mental Load After Diagnosis
The emotional side of food allergy is not secondary. It is part of the diagnosis. Research and clinical guidance consistently show a substantial psychosocial burden, especially right after diagnosis, with anxiety, fear of reactions, and caregiver stress being very common. That is why the first 48 hours can feel so heavy.
A helpful mindset is to separate certainty from uncertainty. You may not know everything yet, and that is okay. What you do know is enough to take the next step: avoid the confirmed allergen, carry emergency medication, reduce cross-contact, and ask the specialist to fill in the gaps.
If your mind keeps jumping to worst-case scenarios, return to concrete actions. Check the auto-injector. Review the safe meal list. Label the kitchen shelf. Write down your next question for the allergist. Small actions can restore a sense of control quickly, which is often the first real relief after diagnosis.
Where to Find Support, Community, and Reliable Allergy Resources
Support matters because you should not have to learn everything in isolation. Food allergy organizations, allergists, and patient communities can provide practical advice, educational materials, and reassurance from people who understand the same daily challenges.
Use trustworthy sources first. The CDC can help you understand how common food allergy is. The USDA and FDA guidance on the Big 9 helps with label awareness. FARE offers practical cross-contact prevention tips. Your allergist should remain the main source for diagnosis-specific advice, emergency planning, and food introduction or challenge decisions.
If you are feeling overwhelmed, ask one trusted person to help you with the first grocery trip, the school email, or the pharmacy pickup. The goal is not to do everything alone. The goal is to build a safe routine with enough support to keep going.
Your 48-Hour Food Allergy Checklist: From Overwhelmed to Prepared
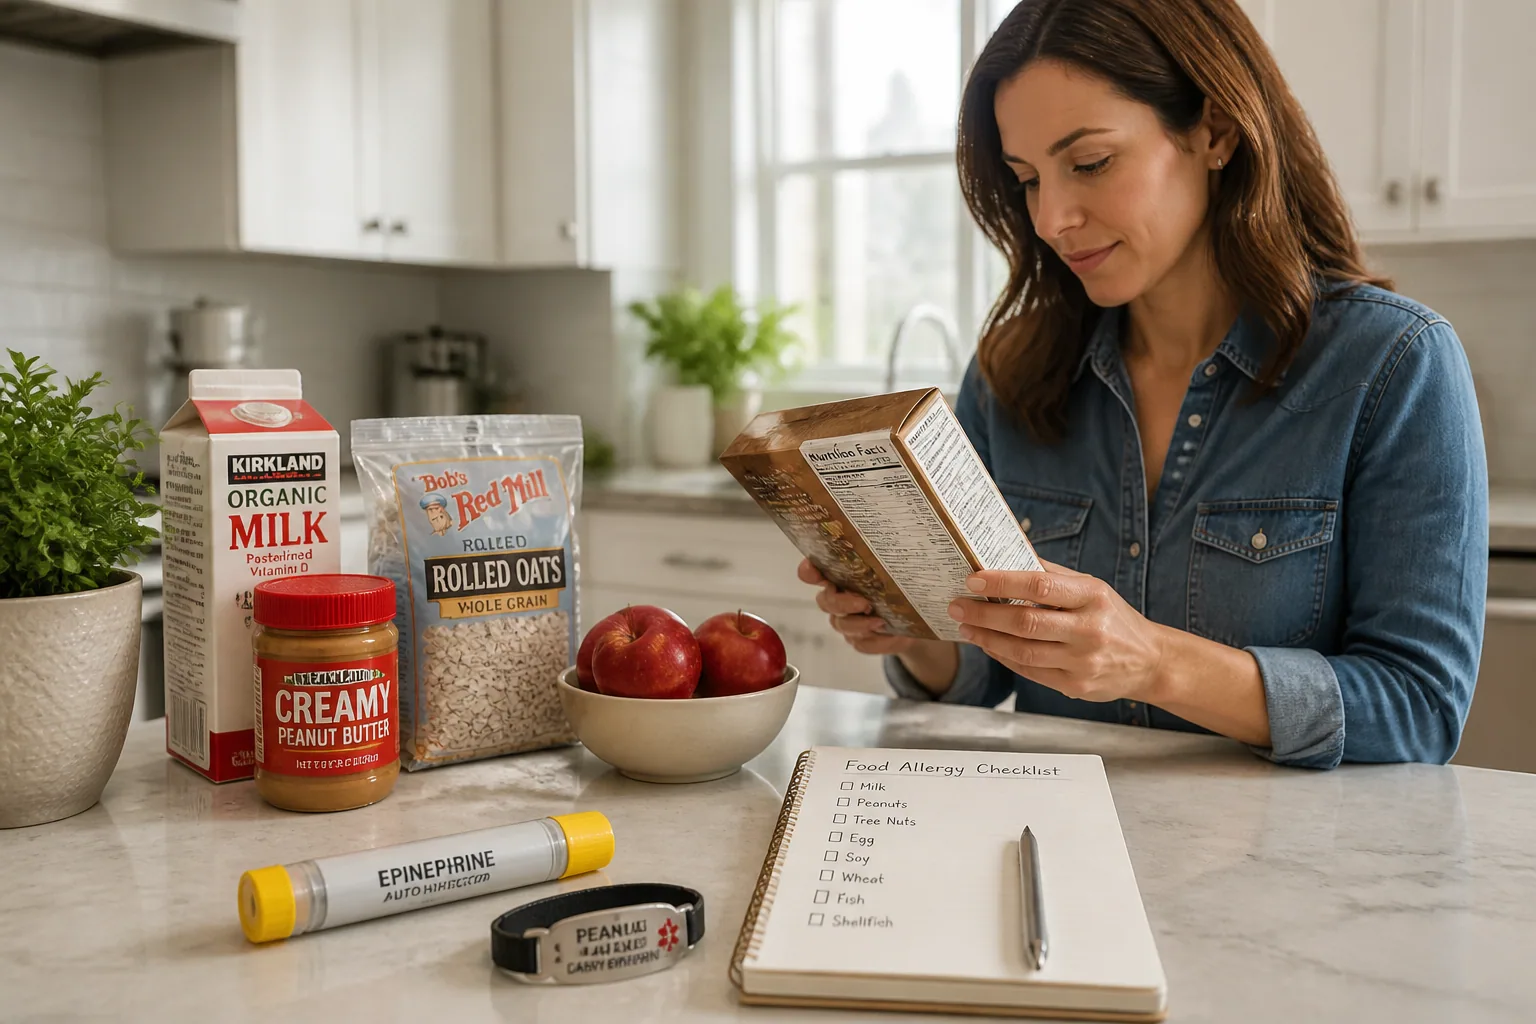
Here is a simple version of the first 48 hours. First, confirm the diagnosis with an allergist and ask what exactly must be avoided. Second, get an emergency plan and learn how to use epinephrine right away. Third, buy the essentials: medication, medical ID, and a few kitchen tools that reduce cross-contact. Fourth, start reading labels carefully and build a short list of safe foods. Fifth, write down reactions, questions, and next steps.
If you do only those five things, you have already made meaningful progress. You do not need to be fearless. You only need to be prepared enough to take the next step safely. In time, the shock settles, the routine gets easier, and the diagnosis becomes part of life rather than the center of it.